- Club Caddie
- Tee Sheet
-
Troubleshooting
-
General
-
Settings
- 3P Integrations
- Card Connect
- Clover
- POSLink
- Class Management
- Class Rate Management
- Course User Info
- Day End Closing
- Event Settings
- Floor Plan
- General Course Info
- I-Frames
- Inventory Center
- Manage Roles
- Membership Settings
- Mobile App Builder
- Payroll Center
- Punch Card Type Center
- Register Settings
- Rack Rate Management
- Tax Management
- Tee Sheet Settings
- Terminal Management
- Venue Center
-
Support
-
Register
-
Tee Sheet
-
Starter Sheet
-
Activities
-
Events
-
On Demand
-
Customers
-
Members
-
Vouchers
-
Sales
-
Reports
-
Quickbooks
-
Hardware
-
Mobile App
-
Email Marketing
-
KDS (Kitchen Display System)
-
Video Training
Tee Sheet : Add Customer to Group Reservation
Article Contents: This article contains step-by-step instructions on how to add a customer to a group booking.
Step-By-Step:
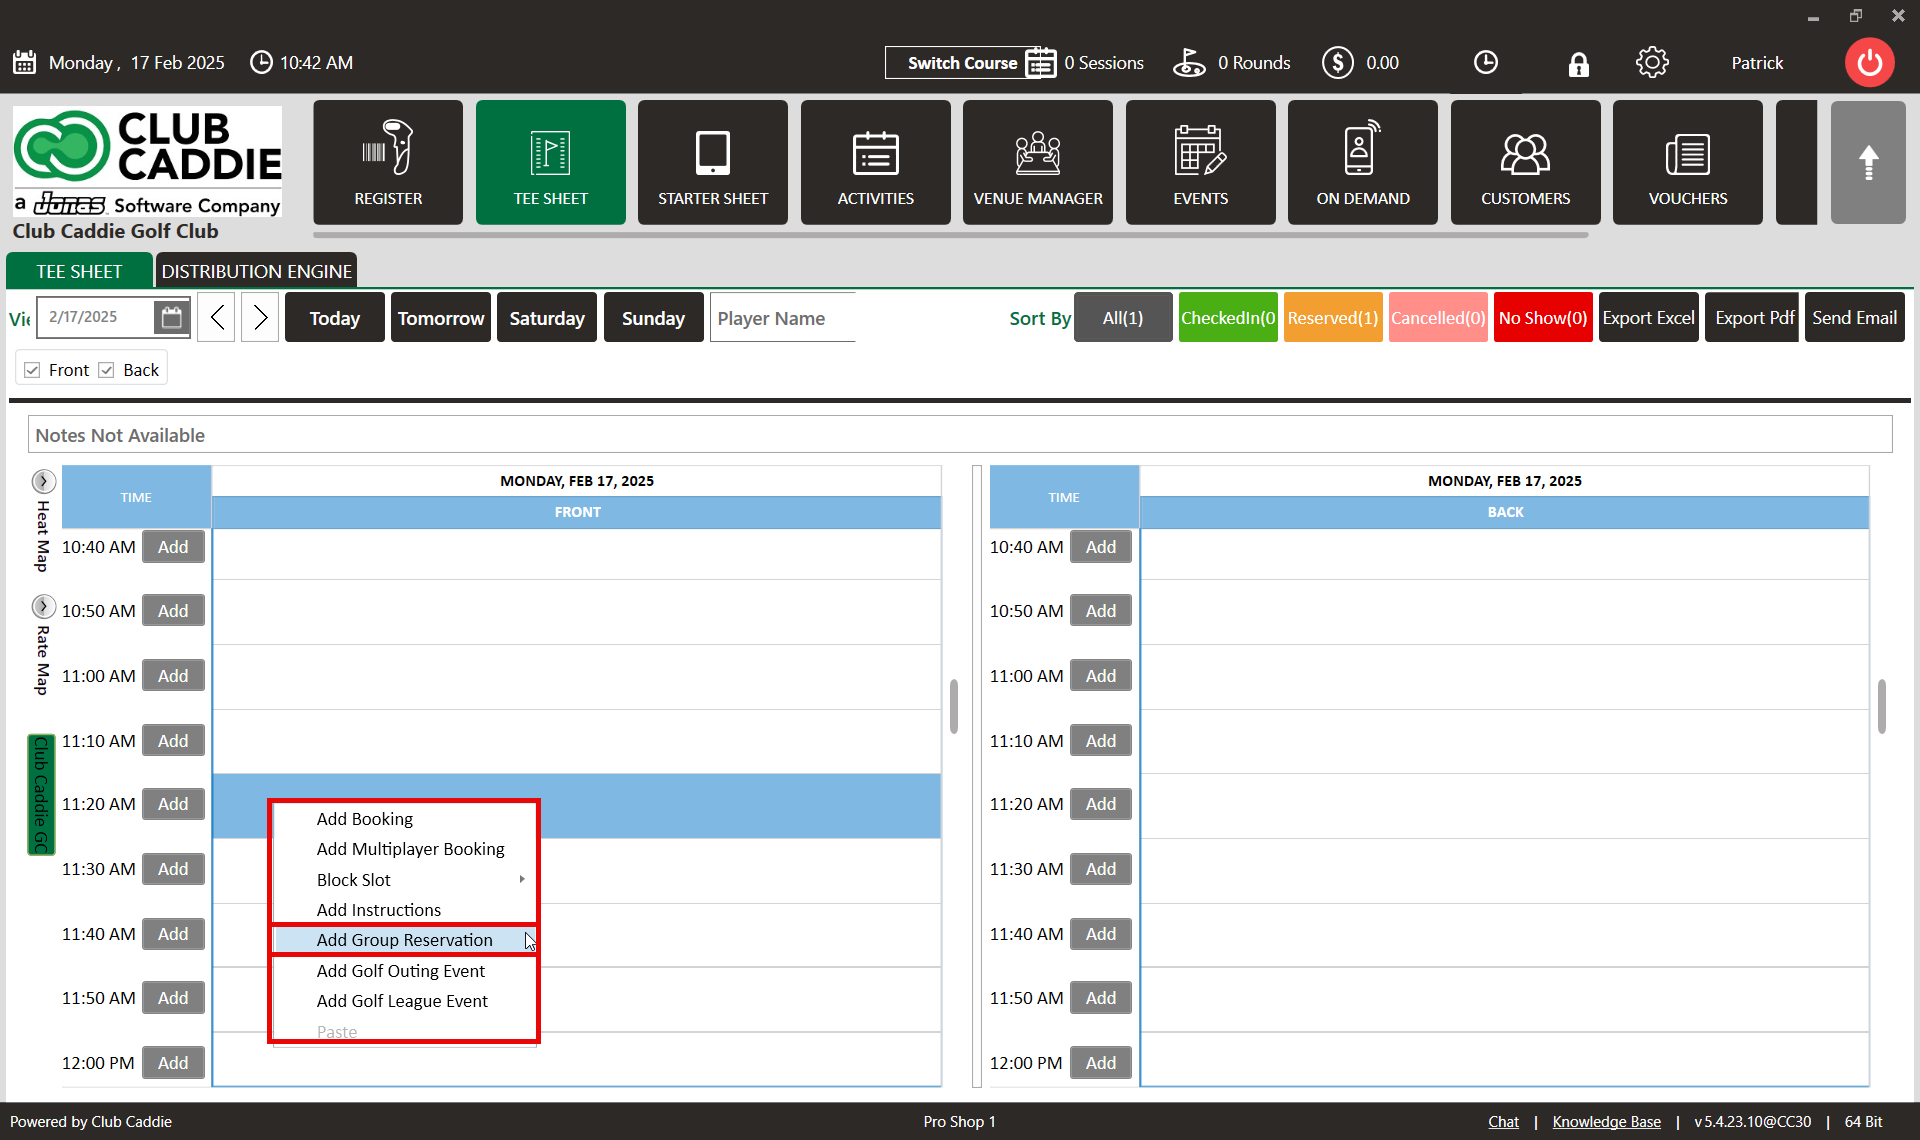
Step 1: From the module navigation menu, select the TEE SHEET module.
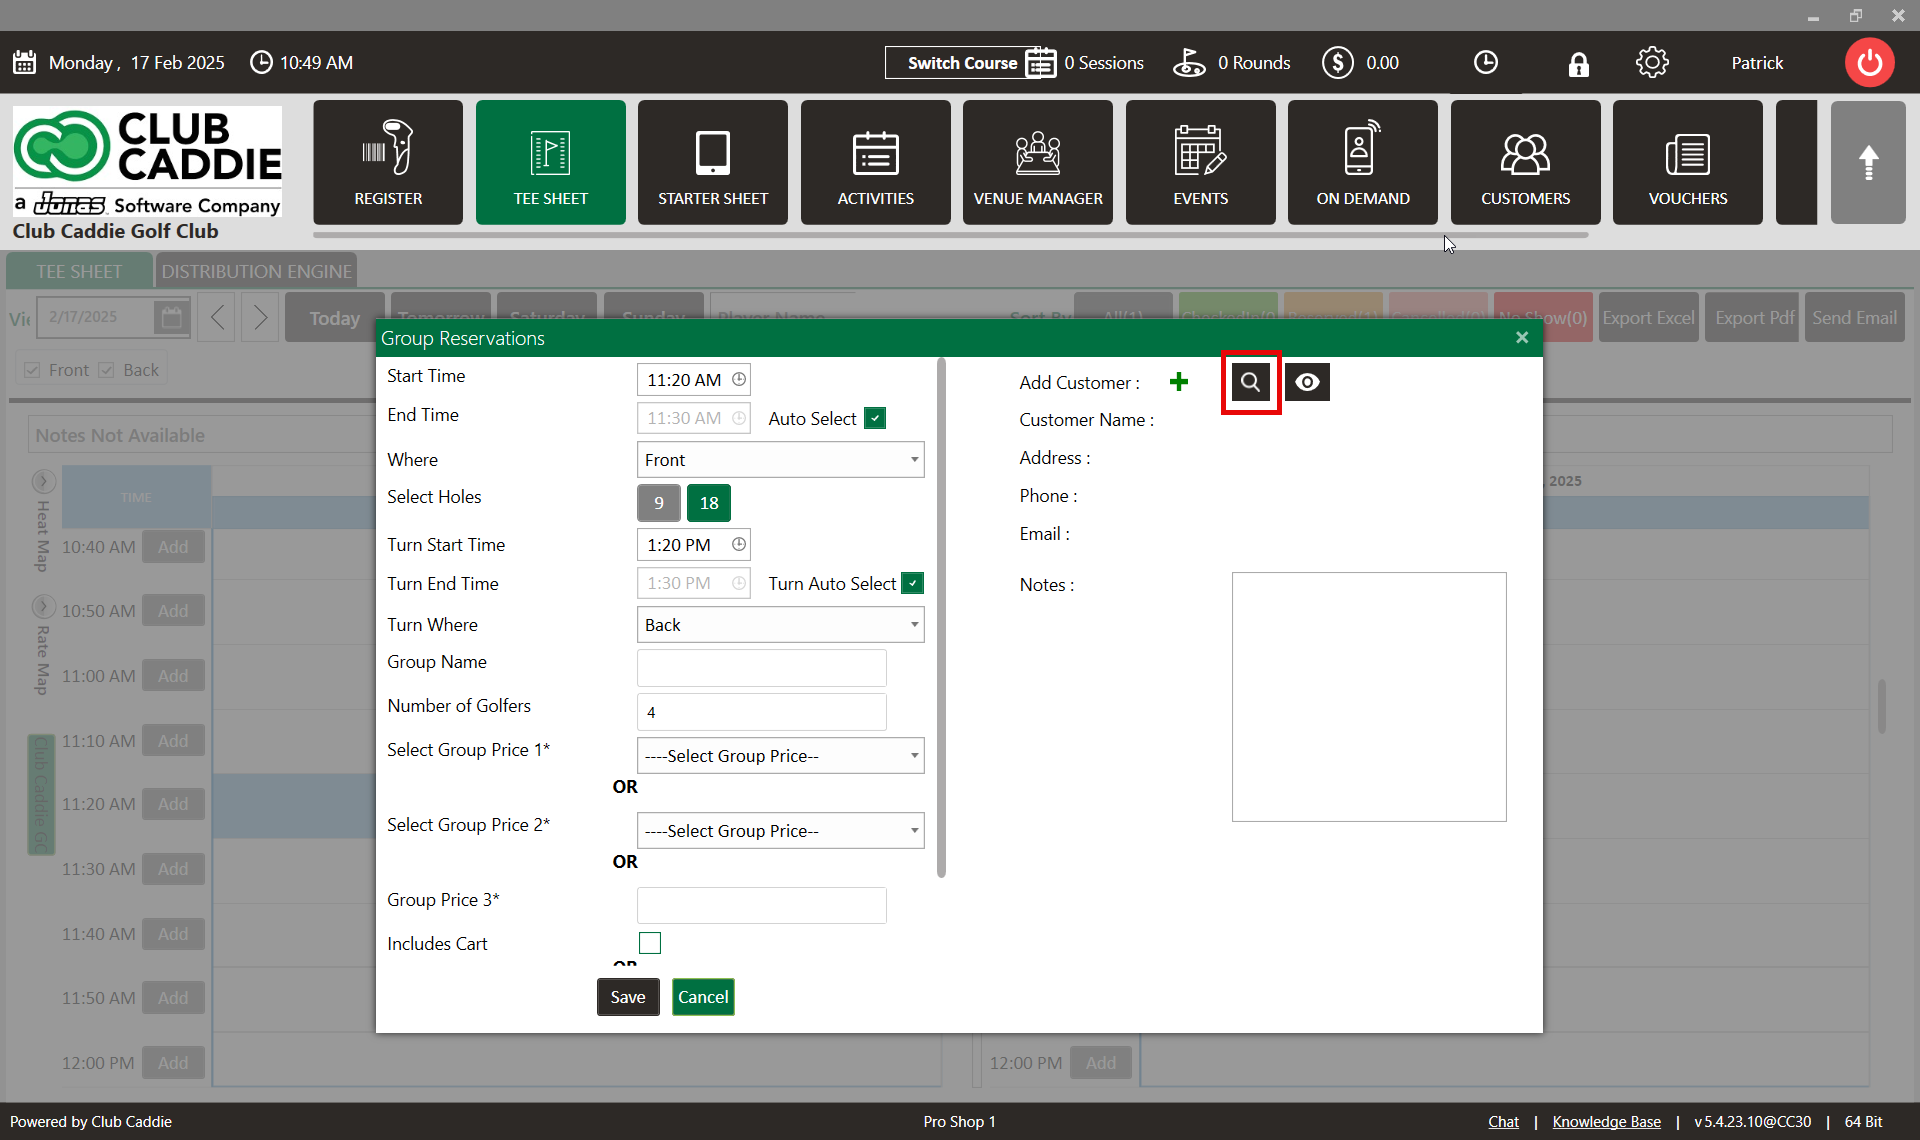
Step 2: Right-click on the desired time slot and select "Add Group Reservation" from the dropdown menu. This action will open the Group Reservations window.
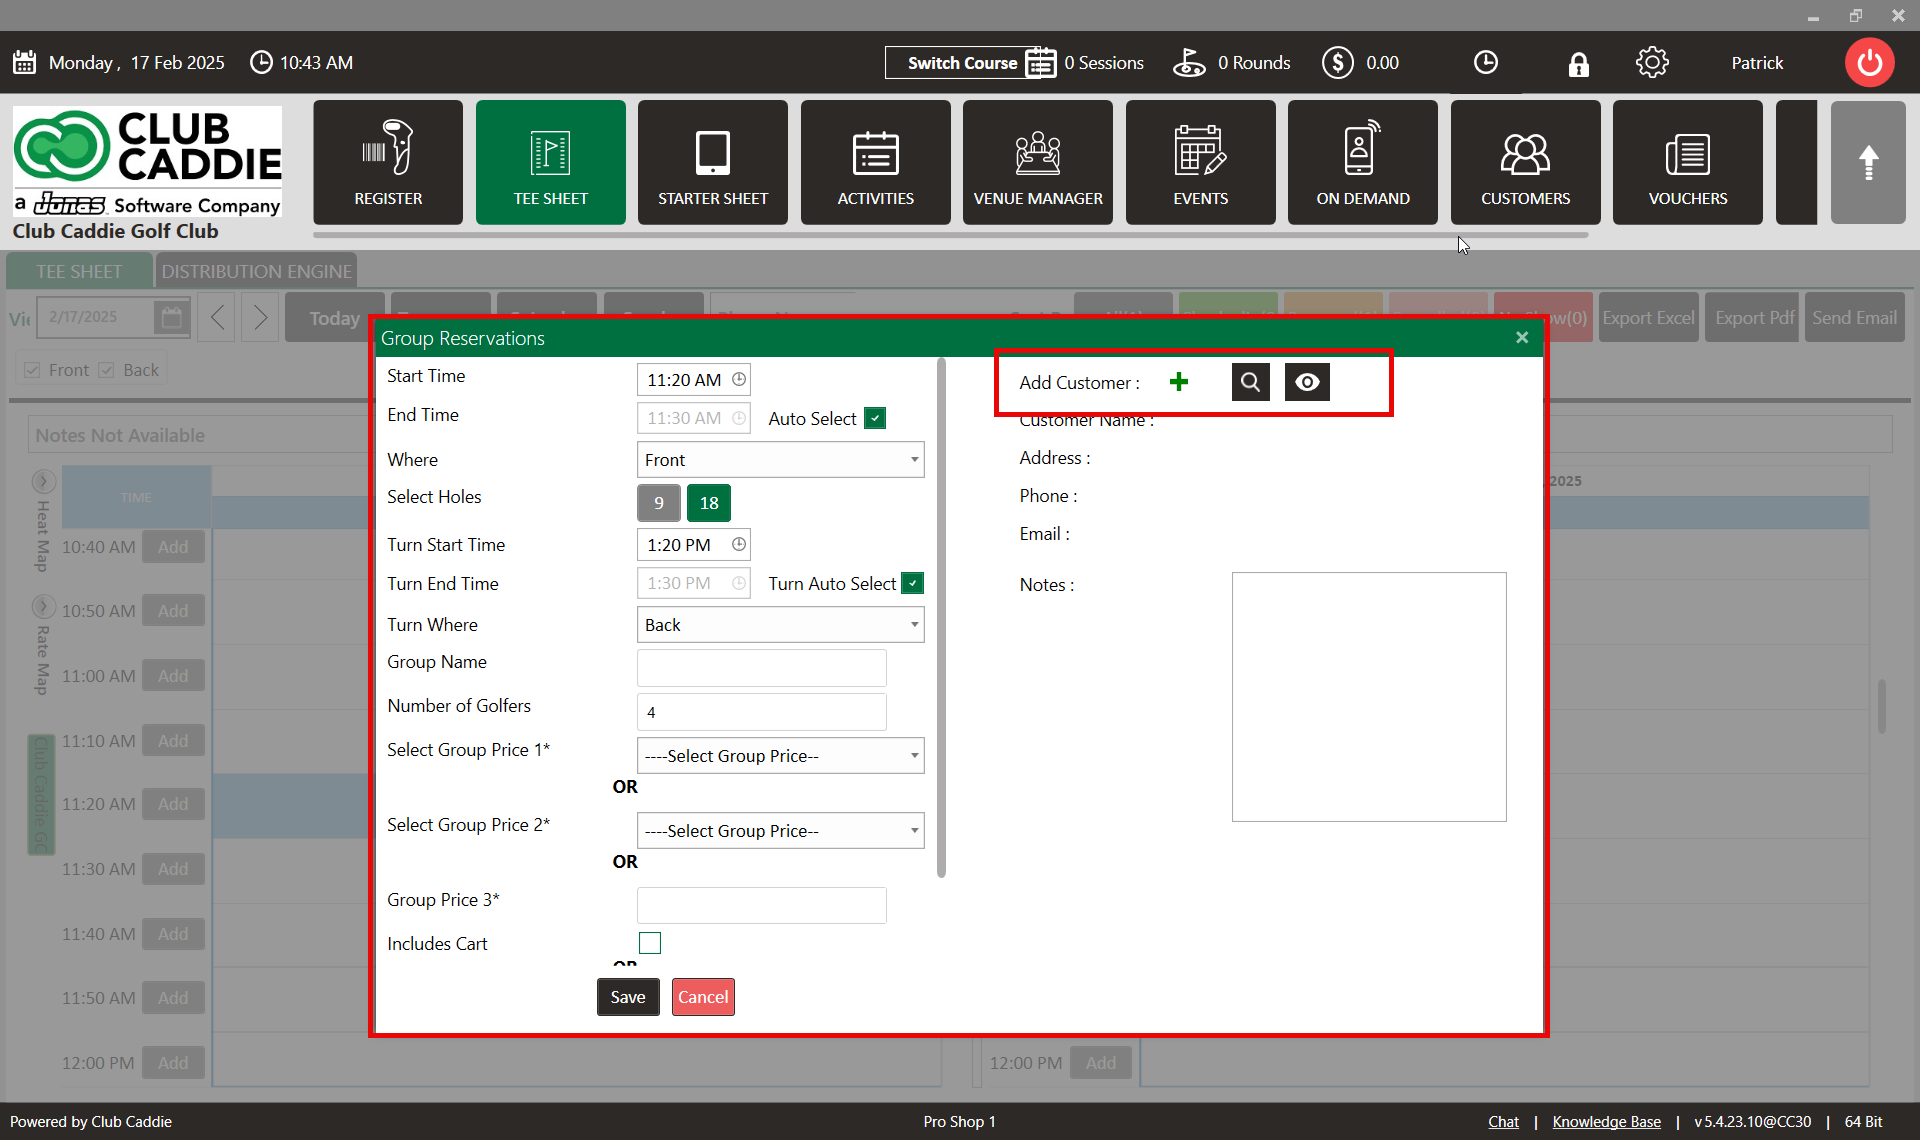
Step 3: In the Group Reservations window, click on the "+" symbol to add a new customer. If you wish to add an existing customer, click on the Search button.
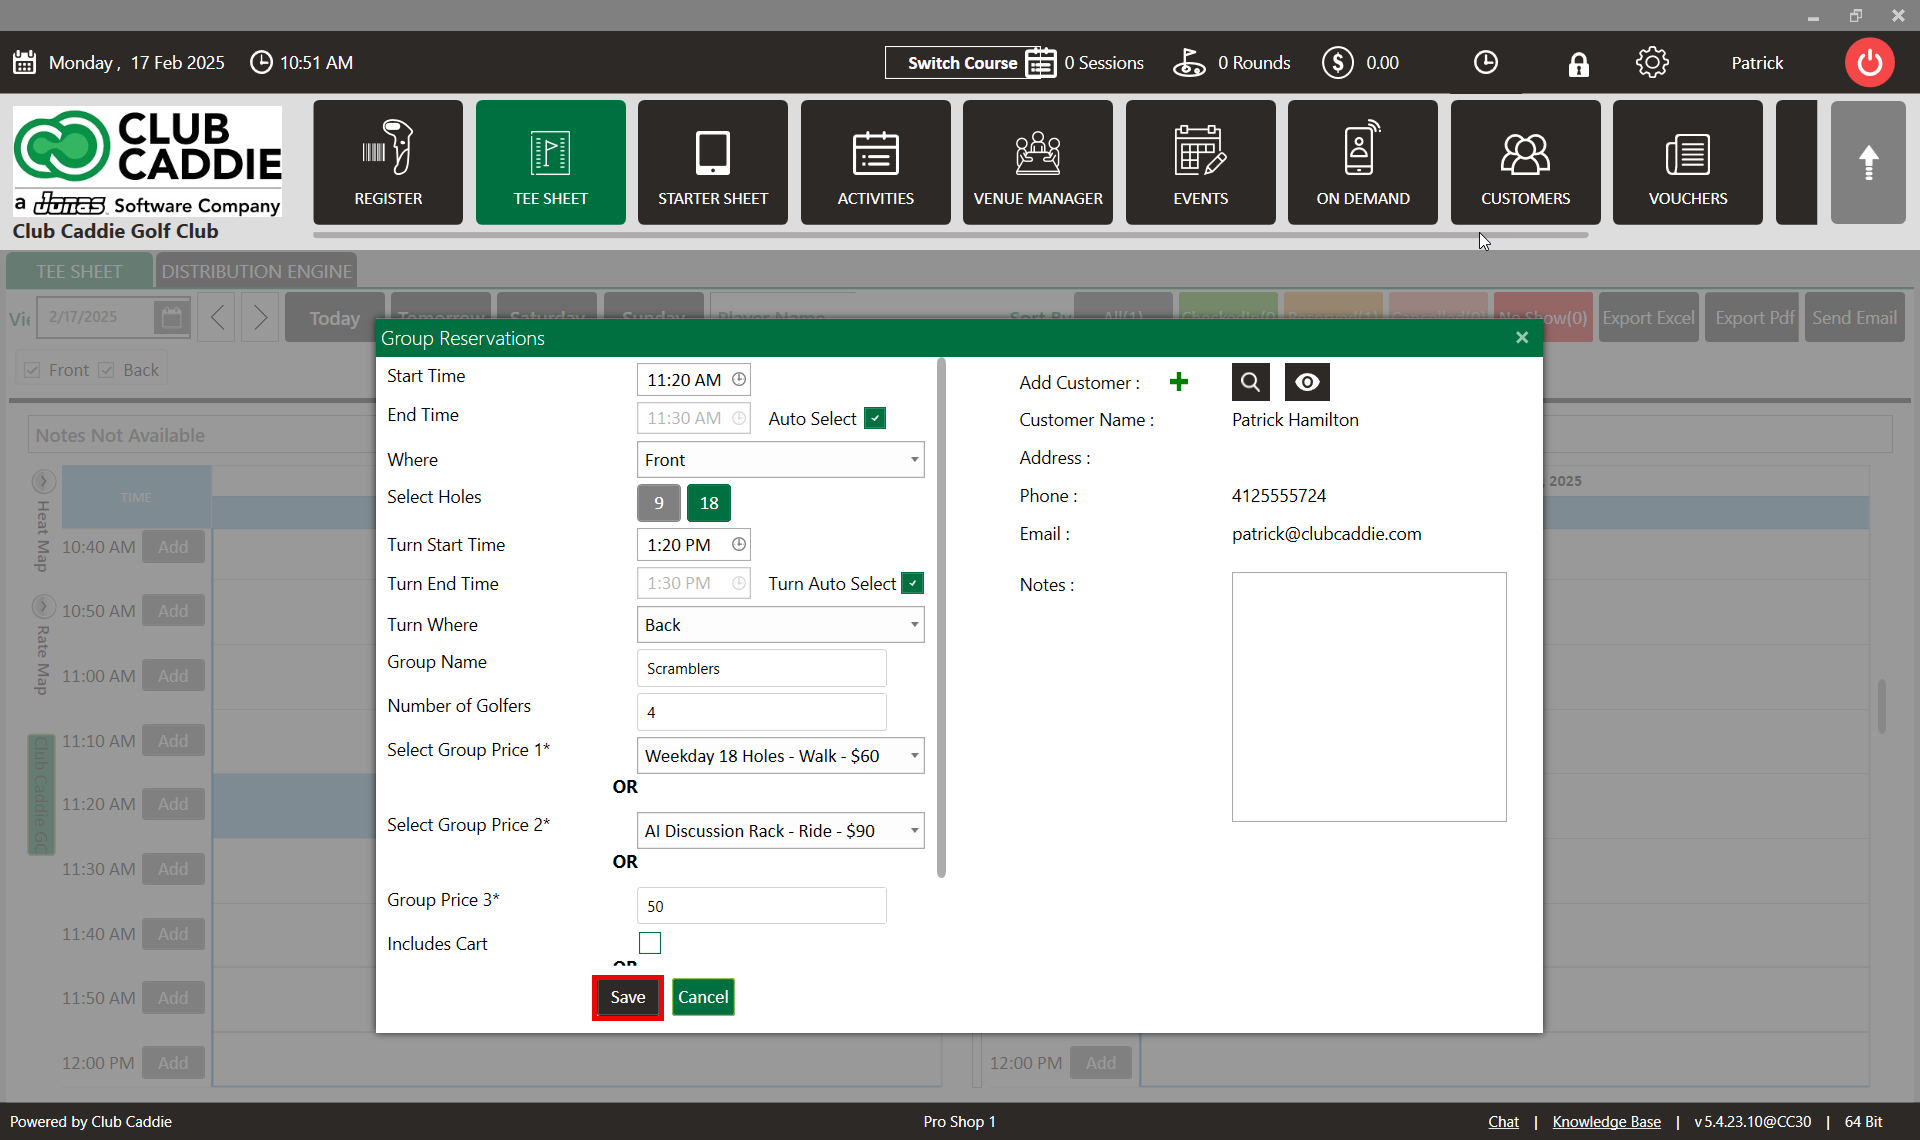
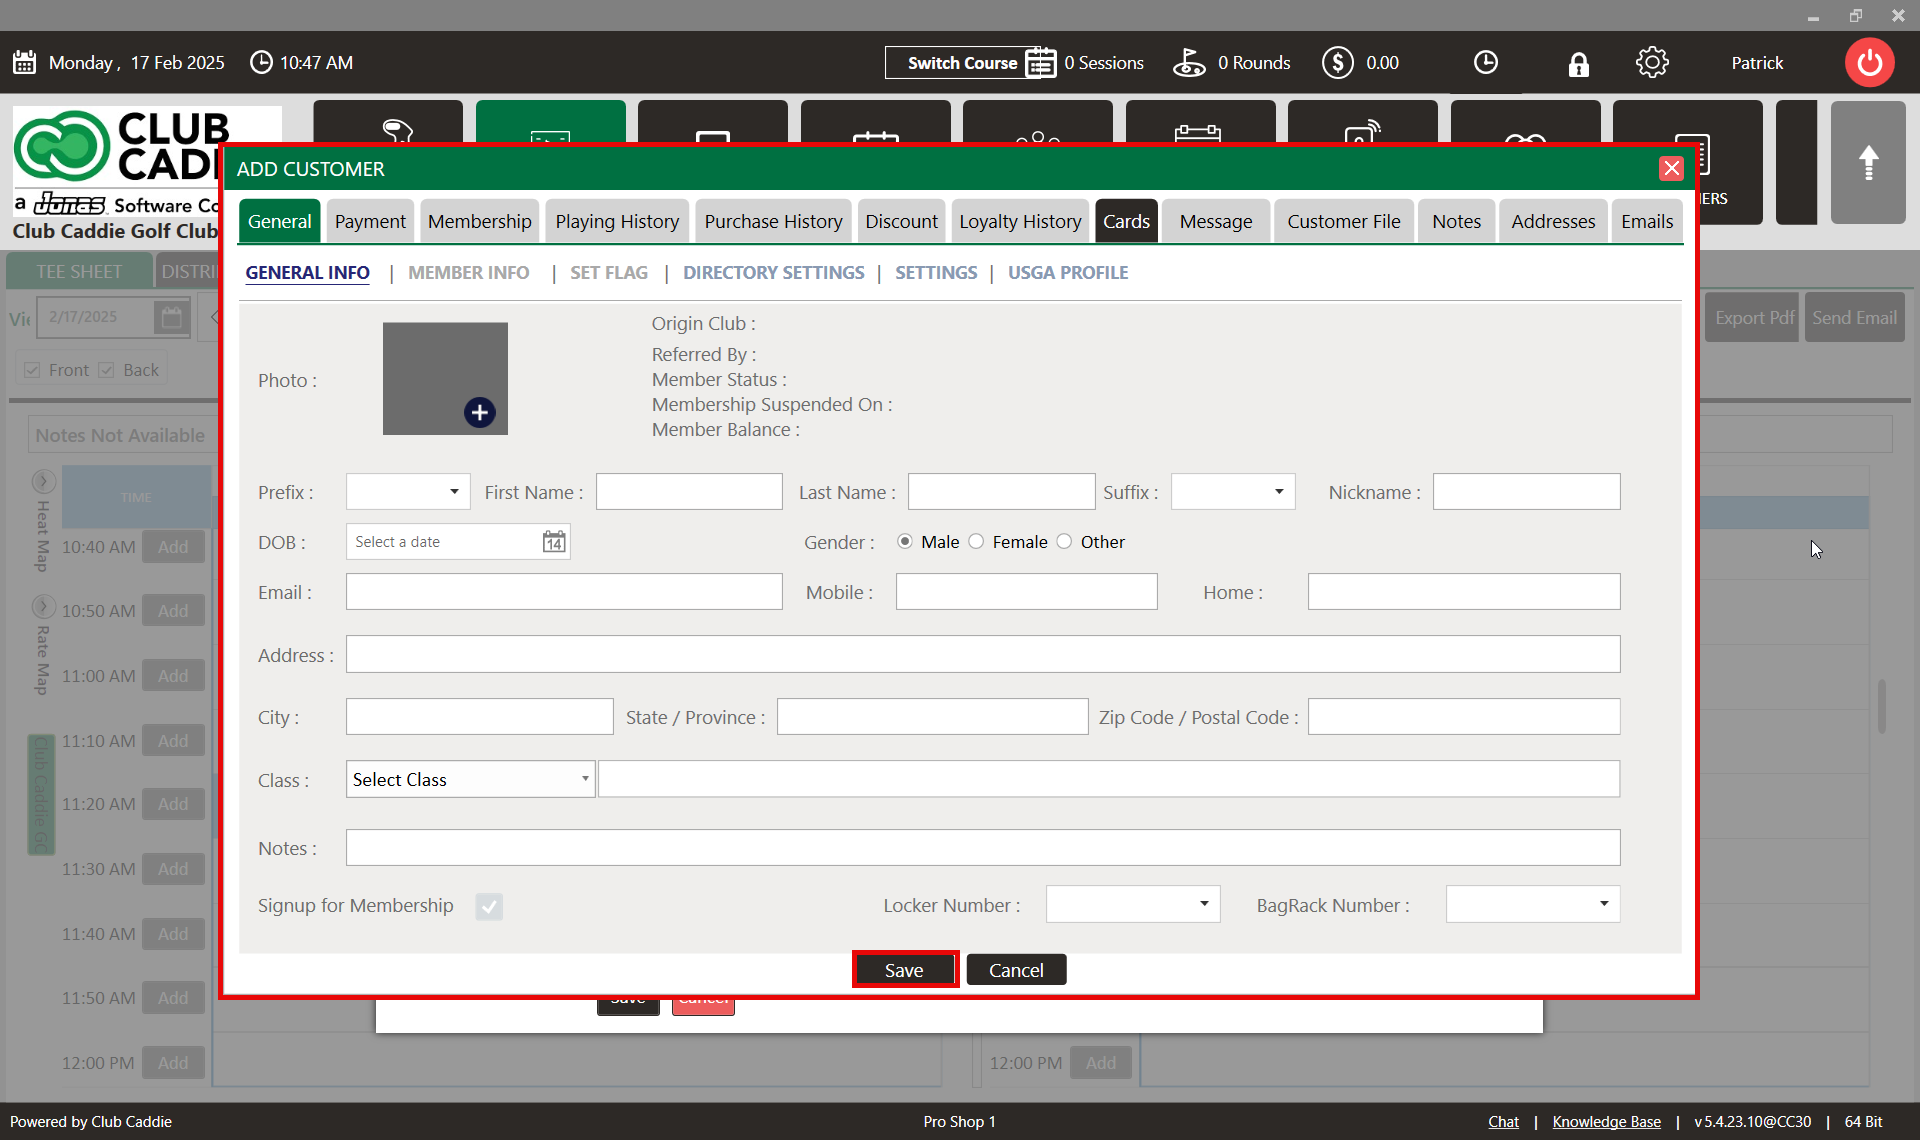
Step 4: After clicking the "+" symbol, the ADD CUSTOMER window will appear. Enter the required information and click "Save".
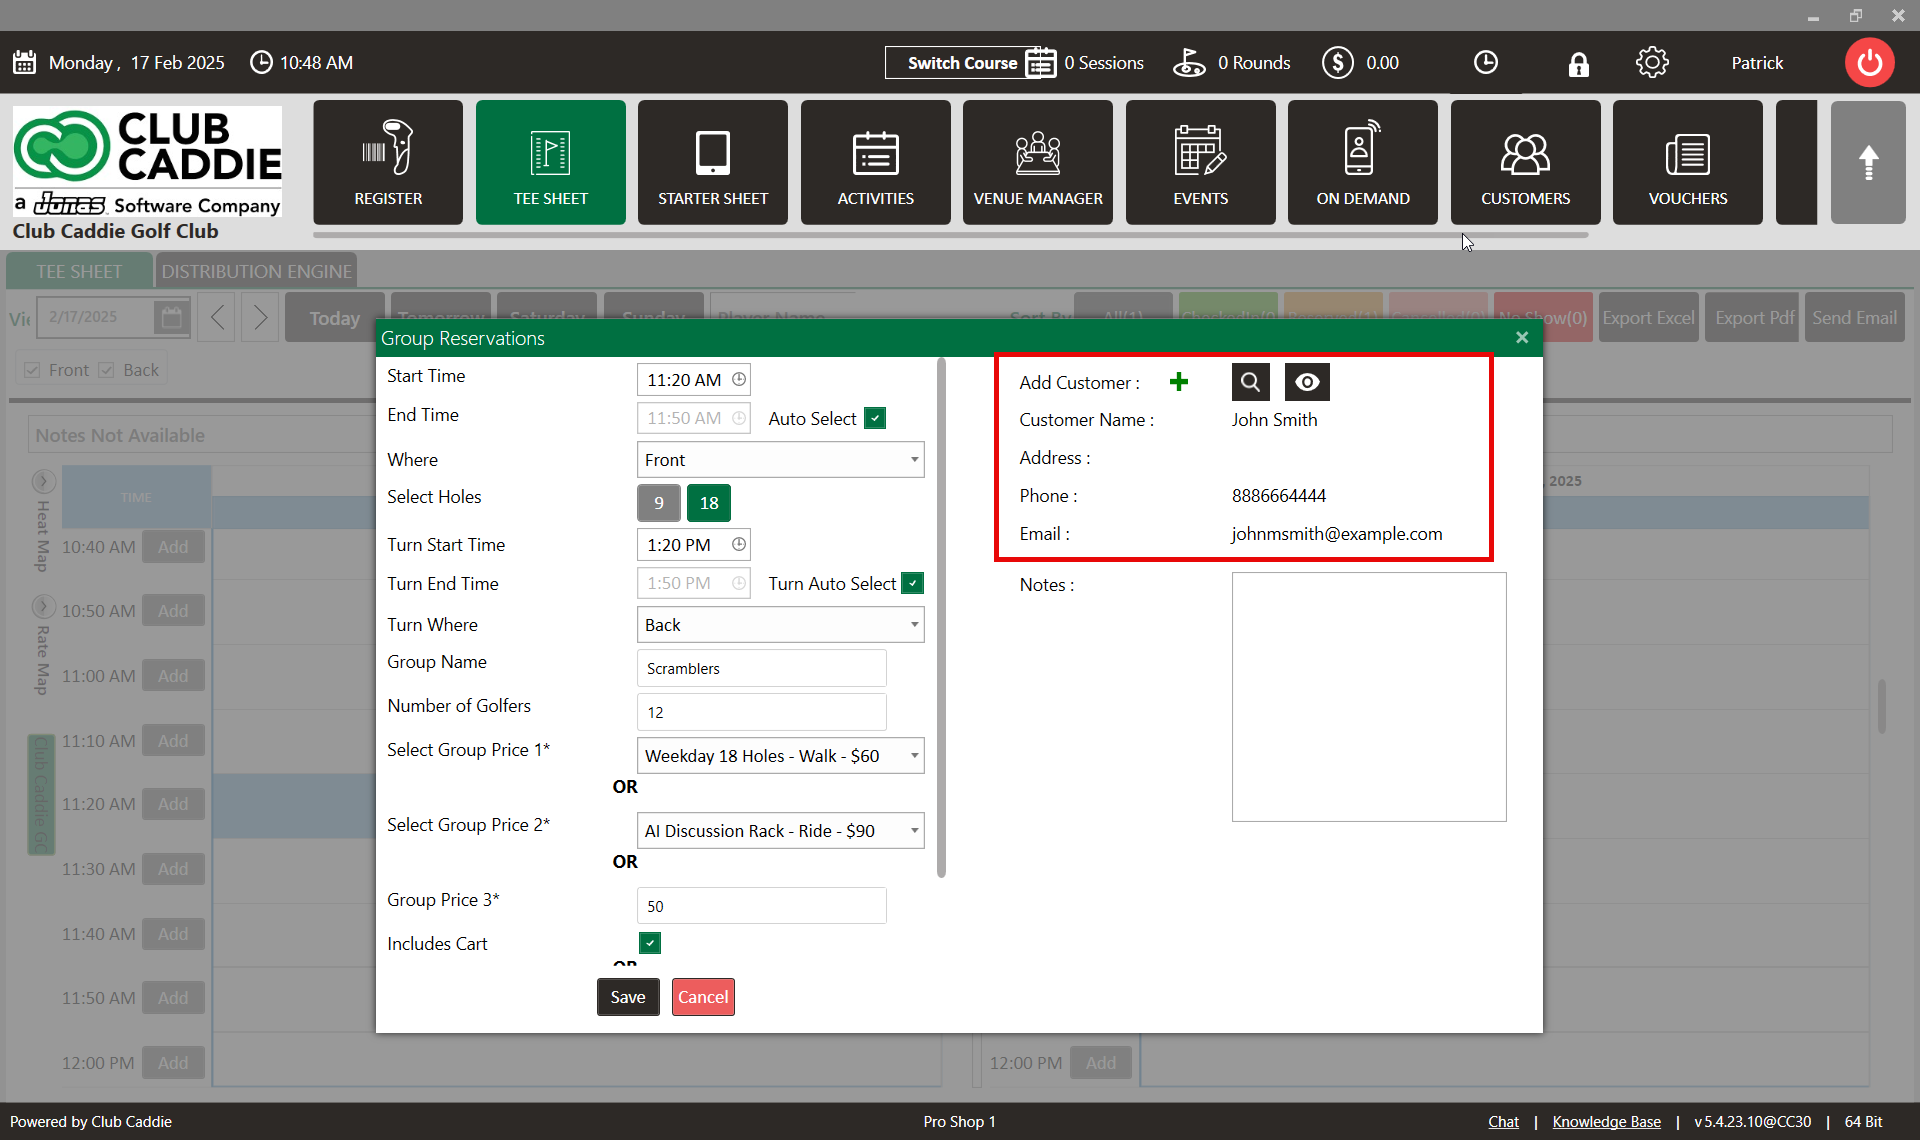
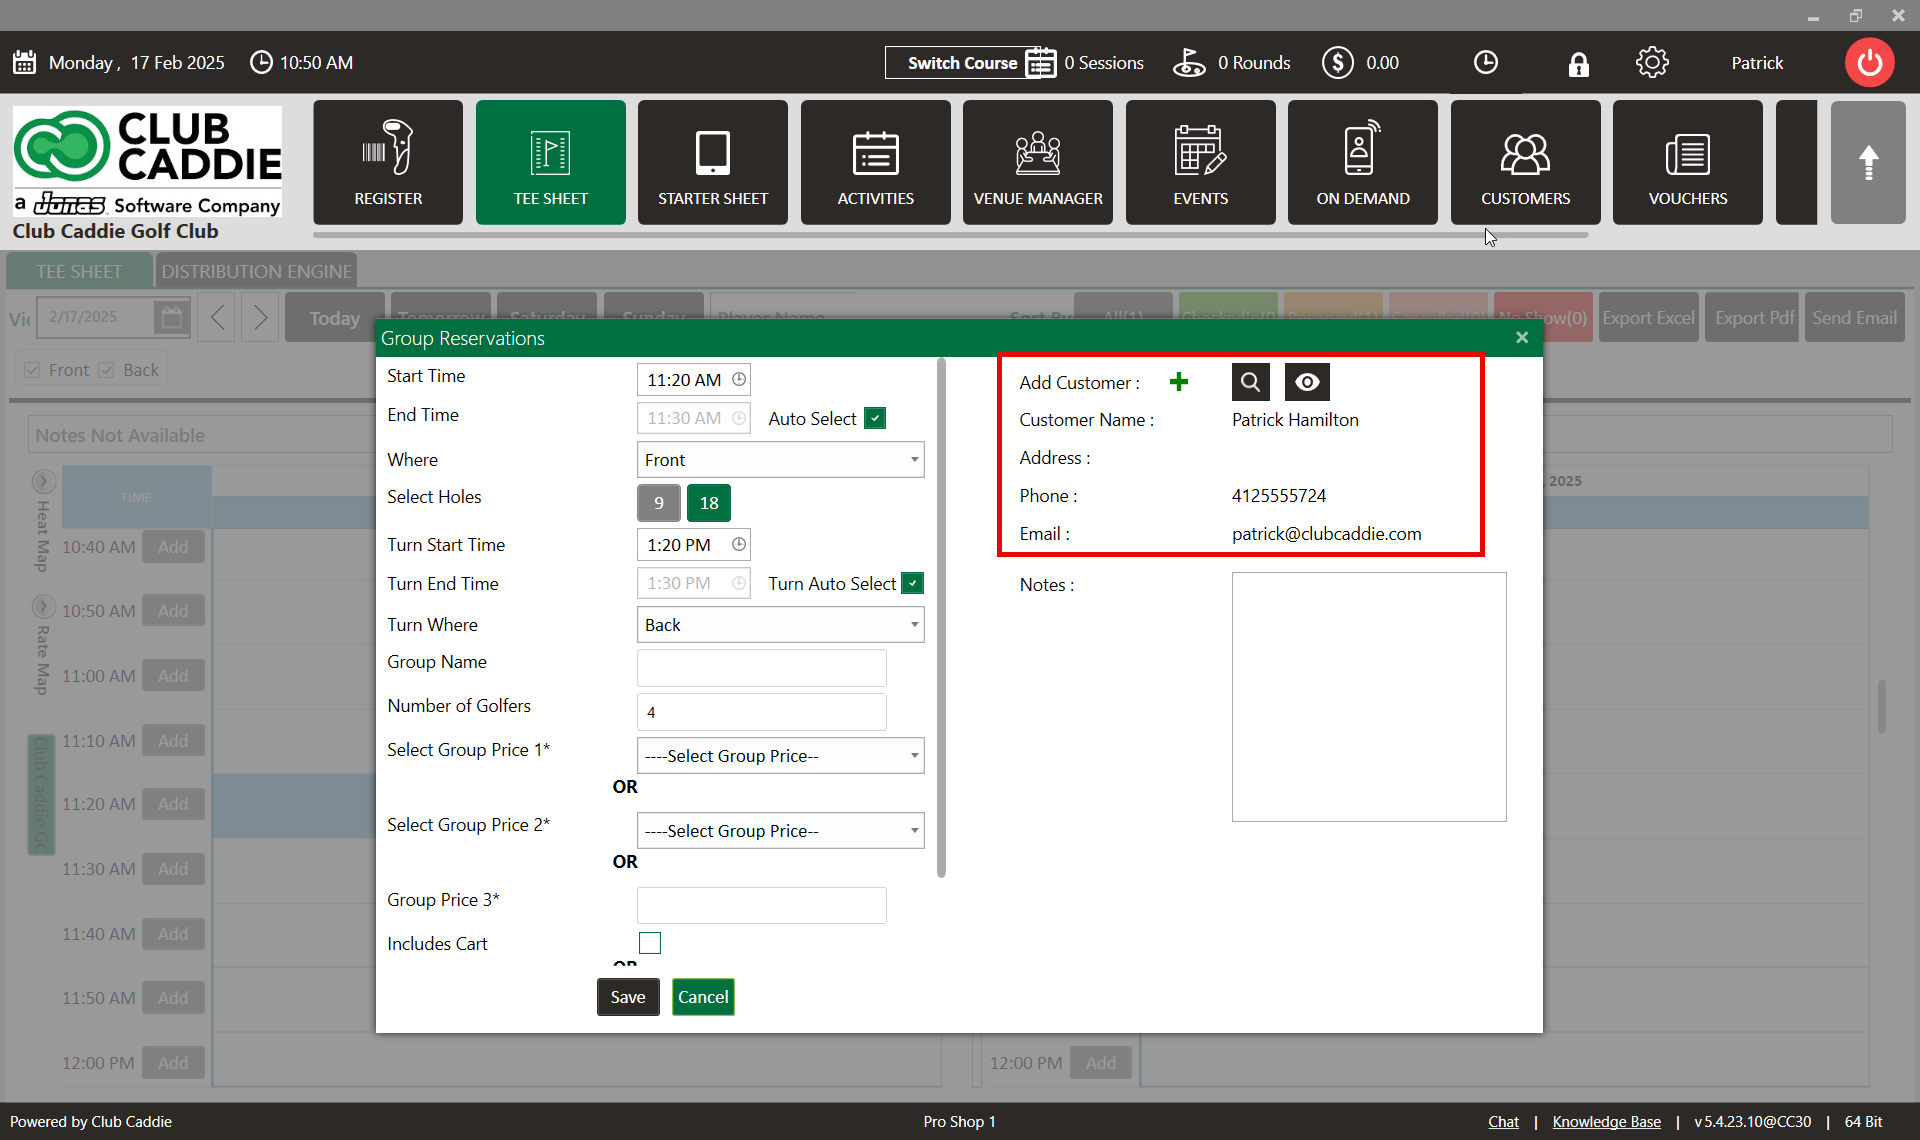
Step 5: To add an existing customer, click on the "Search" symbol. The "Select Customer" window will open. Here, you can search for the desired customer, select their name from the list, and click "Save". The selected customer will then be added to the group booking.