- Club Caddie
- Settings
- Register Settings
-
Troubleshooting
-
General
-
Settings
- 3P Integrations
- Card Connect
- Clover
- POSLink
- Class Management
- Class Rate Management
- Course User Info
- Day End Closing
- Event Settings
- Floor Plan
- General Course Info
- I-Frames
- Inventory Center
- Manage Roles
- Membership Settings
- Mobile App Builder
- Payroll Center
- Punch Card Type Center
- Register Settings
- Rack Rate Management
- Tax Management
- Tee Sheet Settings
- Terminal Management
- Venue Center
-
Support
-
Register
-
Tee Sheet
-
Starter Sheet
-
Activities
-
Events
-
On Demand
-
Customers
-
Members
-
Vouchers
-
Sales
-
Reports
-
Quickbooks
-
Hardware
-
Mobile App
-
Email Marketing
-
KDS (Kitchen Display System)
-
Video Training
Settings : Pin Lock Notes
This article instructs how to add notes to the pin-lock window. The note will display in the Pin Lock pop-up window when creating a new tab in the register
Step-By-Step Guide:
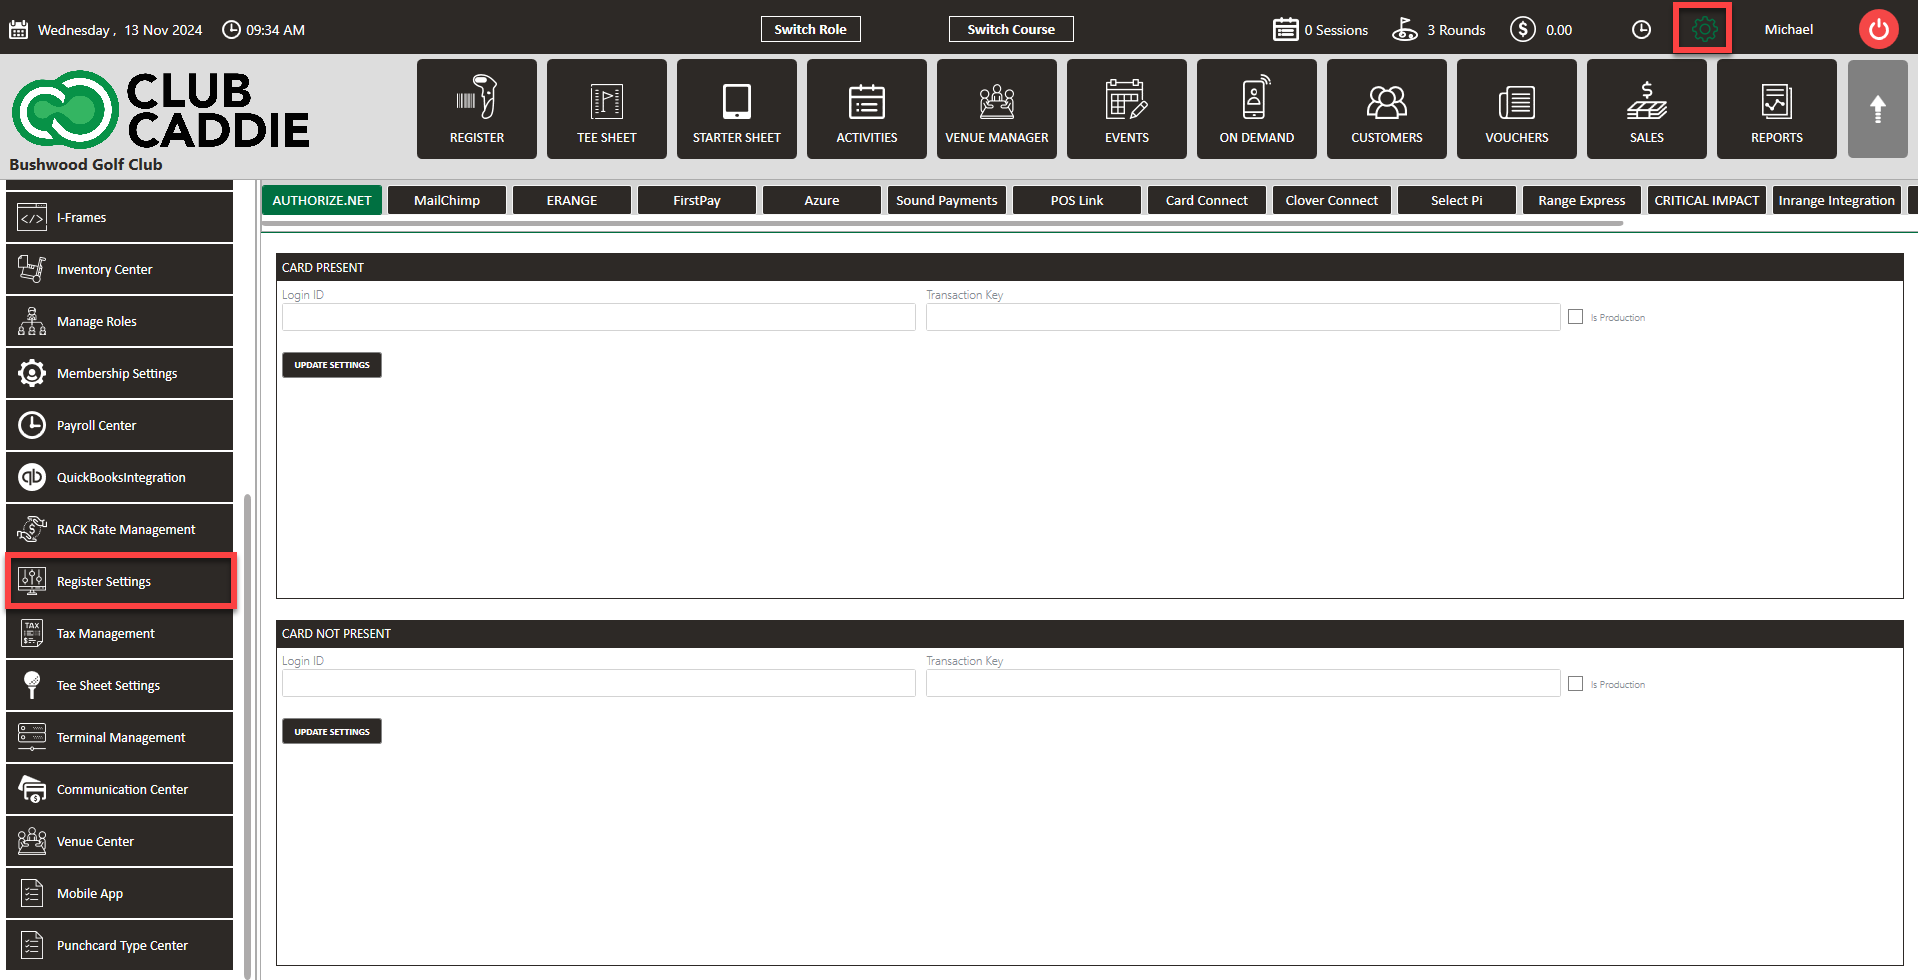
Step 1: Navigate to Settings, then select Register Settings from the left-hand-side menu.
Step 2: Select the Register Notes tab on the right-hand-side, then click Add. A pop-up will display where you can fill in the details for the note. Select the a date range as well as what days the note will display, then click Save.
Step 3: The note will display in the Pin Code pop-up window. This populates when you either select the lock icon to assign an employee a tab, start a new tab with Pin Lock on, or when you select the Quick tab icon and you have Requires Pin on Quick Tab toggled on in your Terminal Management Settings.