.png?width=200&height=89&name=CC%20%20fiserv.%20(3).png)
Step by Step
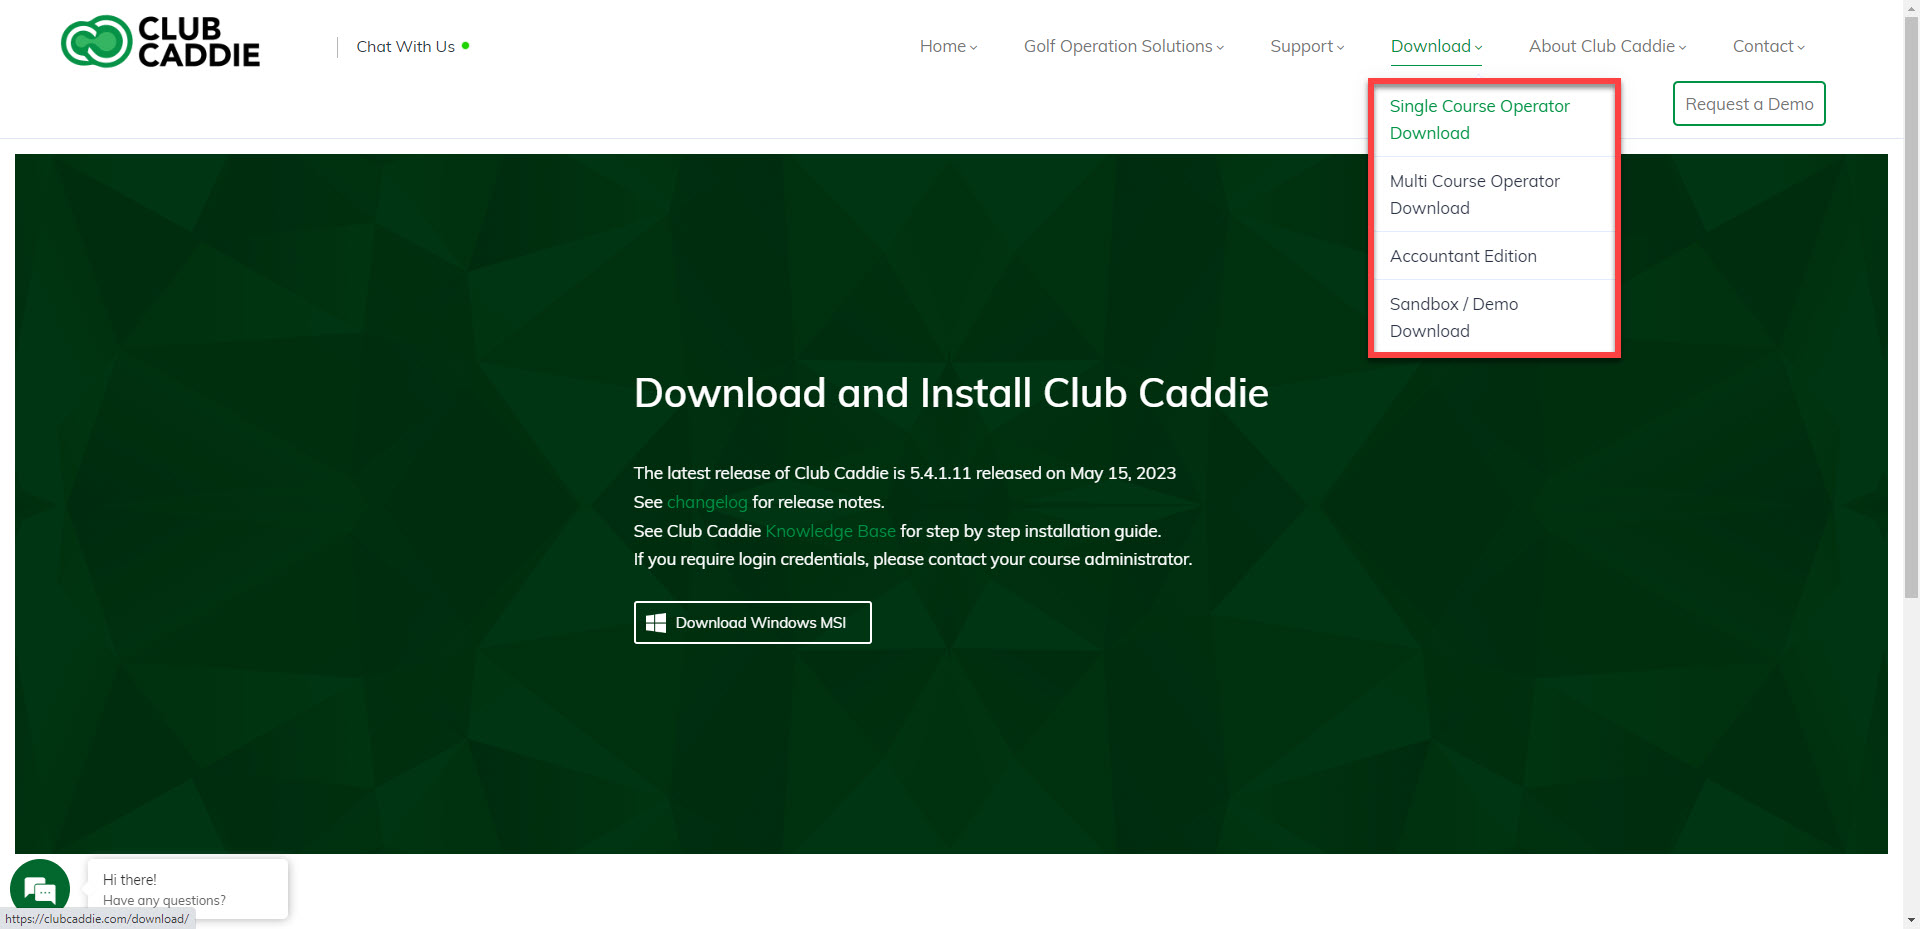
Step 1: Visit https://clubcaddie.com/download/. Use the dropdown menu to select your facility type.
Step 2: Click on the Download Windows MSI button to begin the updates download.
Step 3: Locate the file under your downloads and select.
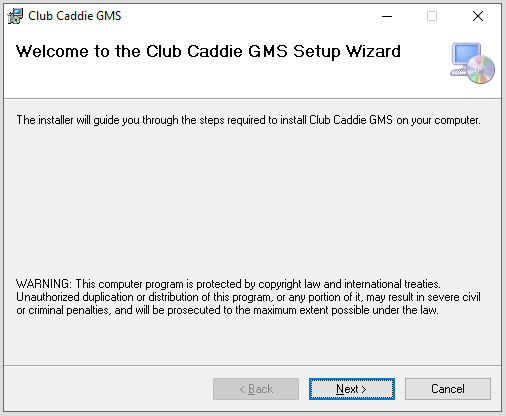
Step 4: Click on 'Next'.
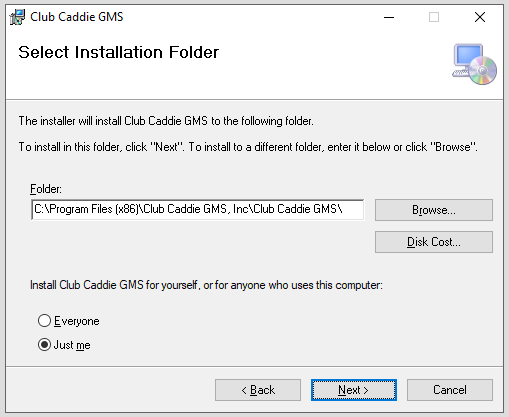
Step 5: Specify the download location. Typically, it is recommended to leave the default location. Click on the 'Next' button.
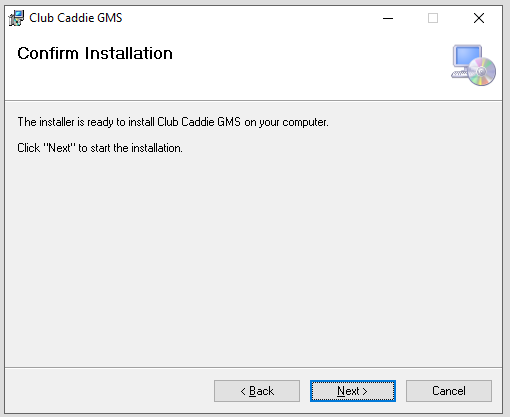
Step 6: At this time, please close the currently open instance of Club Caddie, then click on 'Next'.
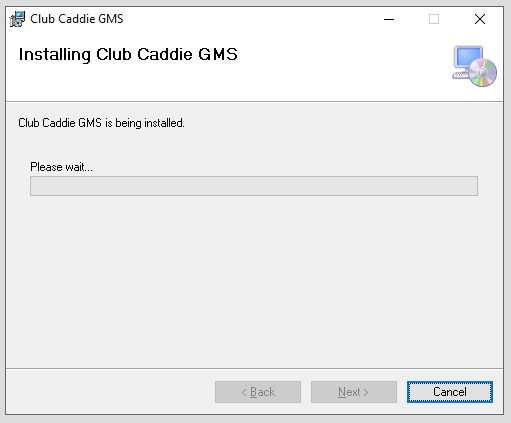
Step 7: Installation will begin, and should be complete in around 30 seconds to 1 minute. During this process, you may be asked to allow the program to make changes to your computer.
Step 5: Specify the download location. Typically, it is recommended to leave the default location. Click on the 'Next' button.
Step 6: At this time, please close the currently open instance of Club Caddie, then click on 'Next'.
Step 7: Installation will begin, and should be complete in around 30 seconds to 1 minute. During this process, you may be asked to allow the program to make changes to your computer.
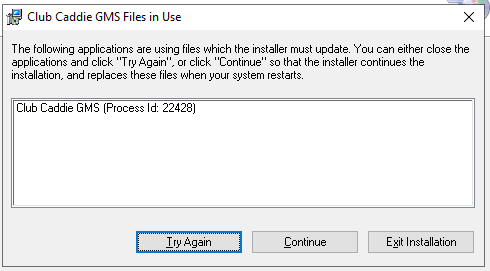
Step 8: If you have not closed Club Caddie during the installation process, you will be asked to do so now to continue the installation. Kindly close the Club Caddie golf management system and click on 'Try Again'.
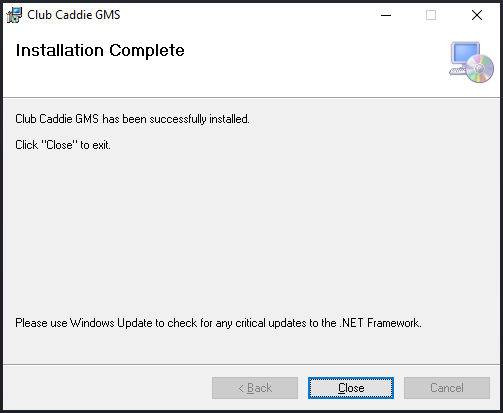
Step 9: Once the installation process is completed you will be given the 'Installation Complete' pop-up. Click 'Close'.
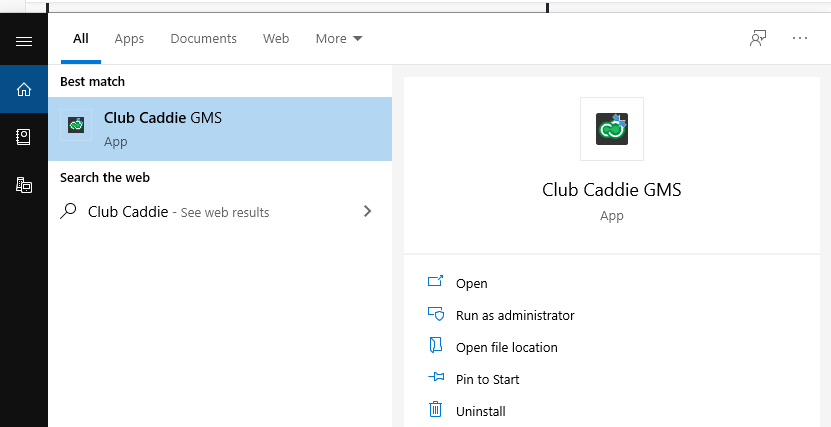
Step 10: You may then search for Club Caddie in the Windows search bar or locate the icon on your desktop to open your newly updated golf management system.