.png?width=200&height=89&name=CC%20%20fiserv.%20(3).png)
Footers appear at the end of every email sent out. The footer includes a link to Unsubscribe and company information, as per SPAM regulations. To edit the footer, please follow the steps below. Please talk to your account administrator if you cannot access the Edit Footer tool.
- Click Tools
- Click Edit Footers
- Double click a footer entry or click Add Header/Footer to add a new one
- Enter an appropriate name and description
- The HTML Footer will appear at the bottom of the HTML emails
- The Text Footer will appear at the bottom of emails seen as text only
The other tabs are for editing unique footers as well as the default header (Learn more: Edit Headers)

Click Save

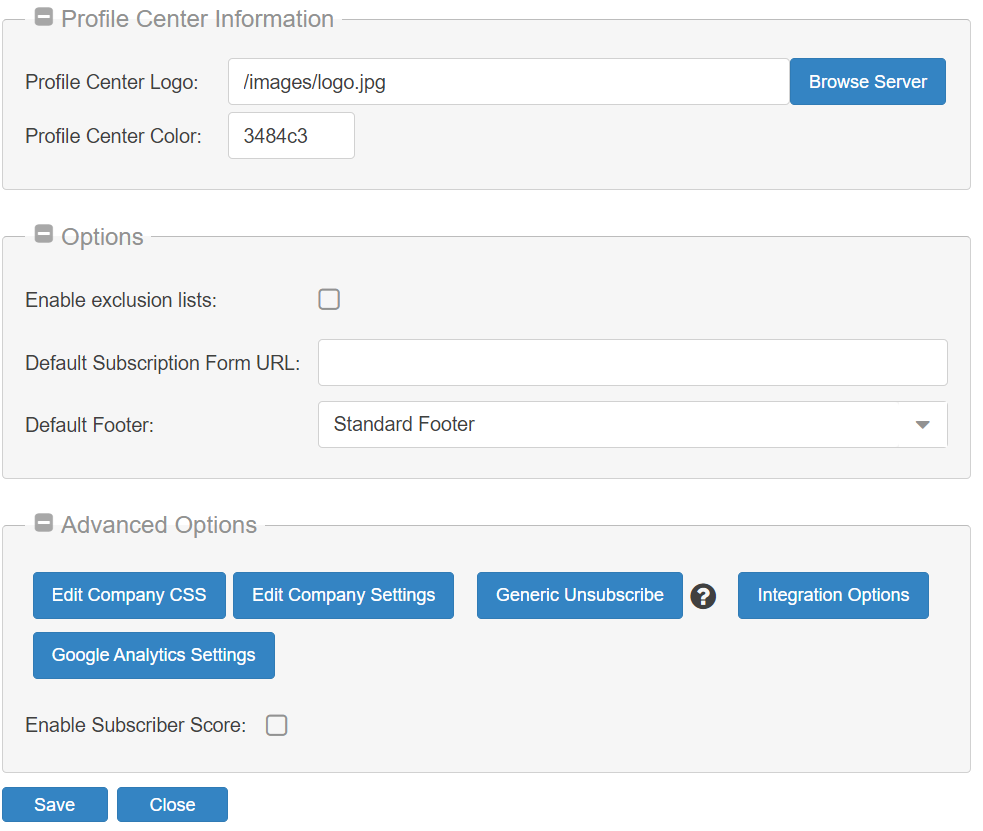
- Open the Account Folder
- Click Account Preferences
- Find the Options section and select a Default Footer

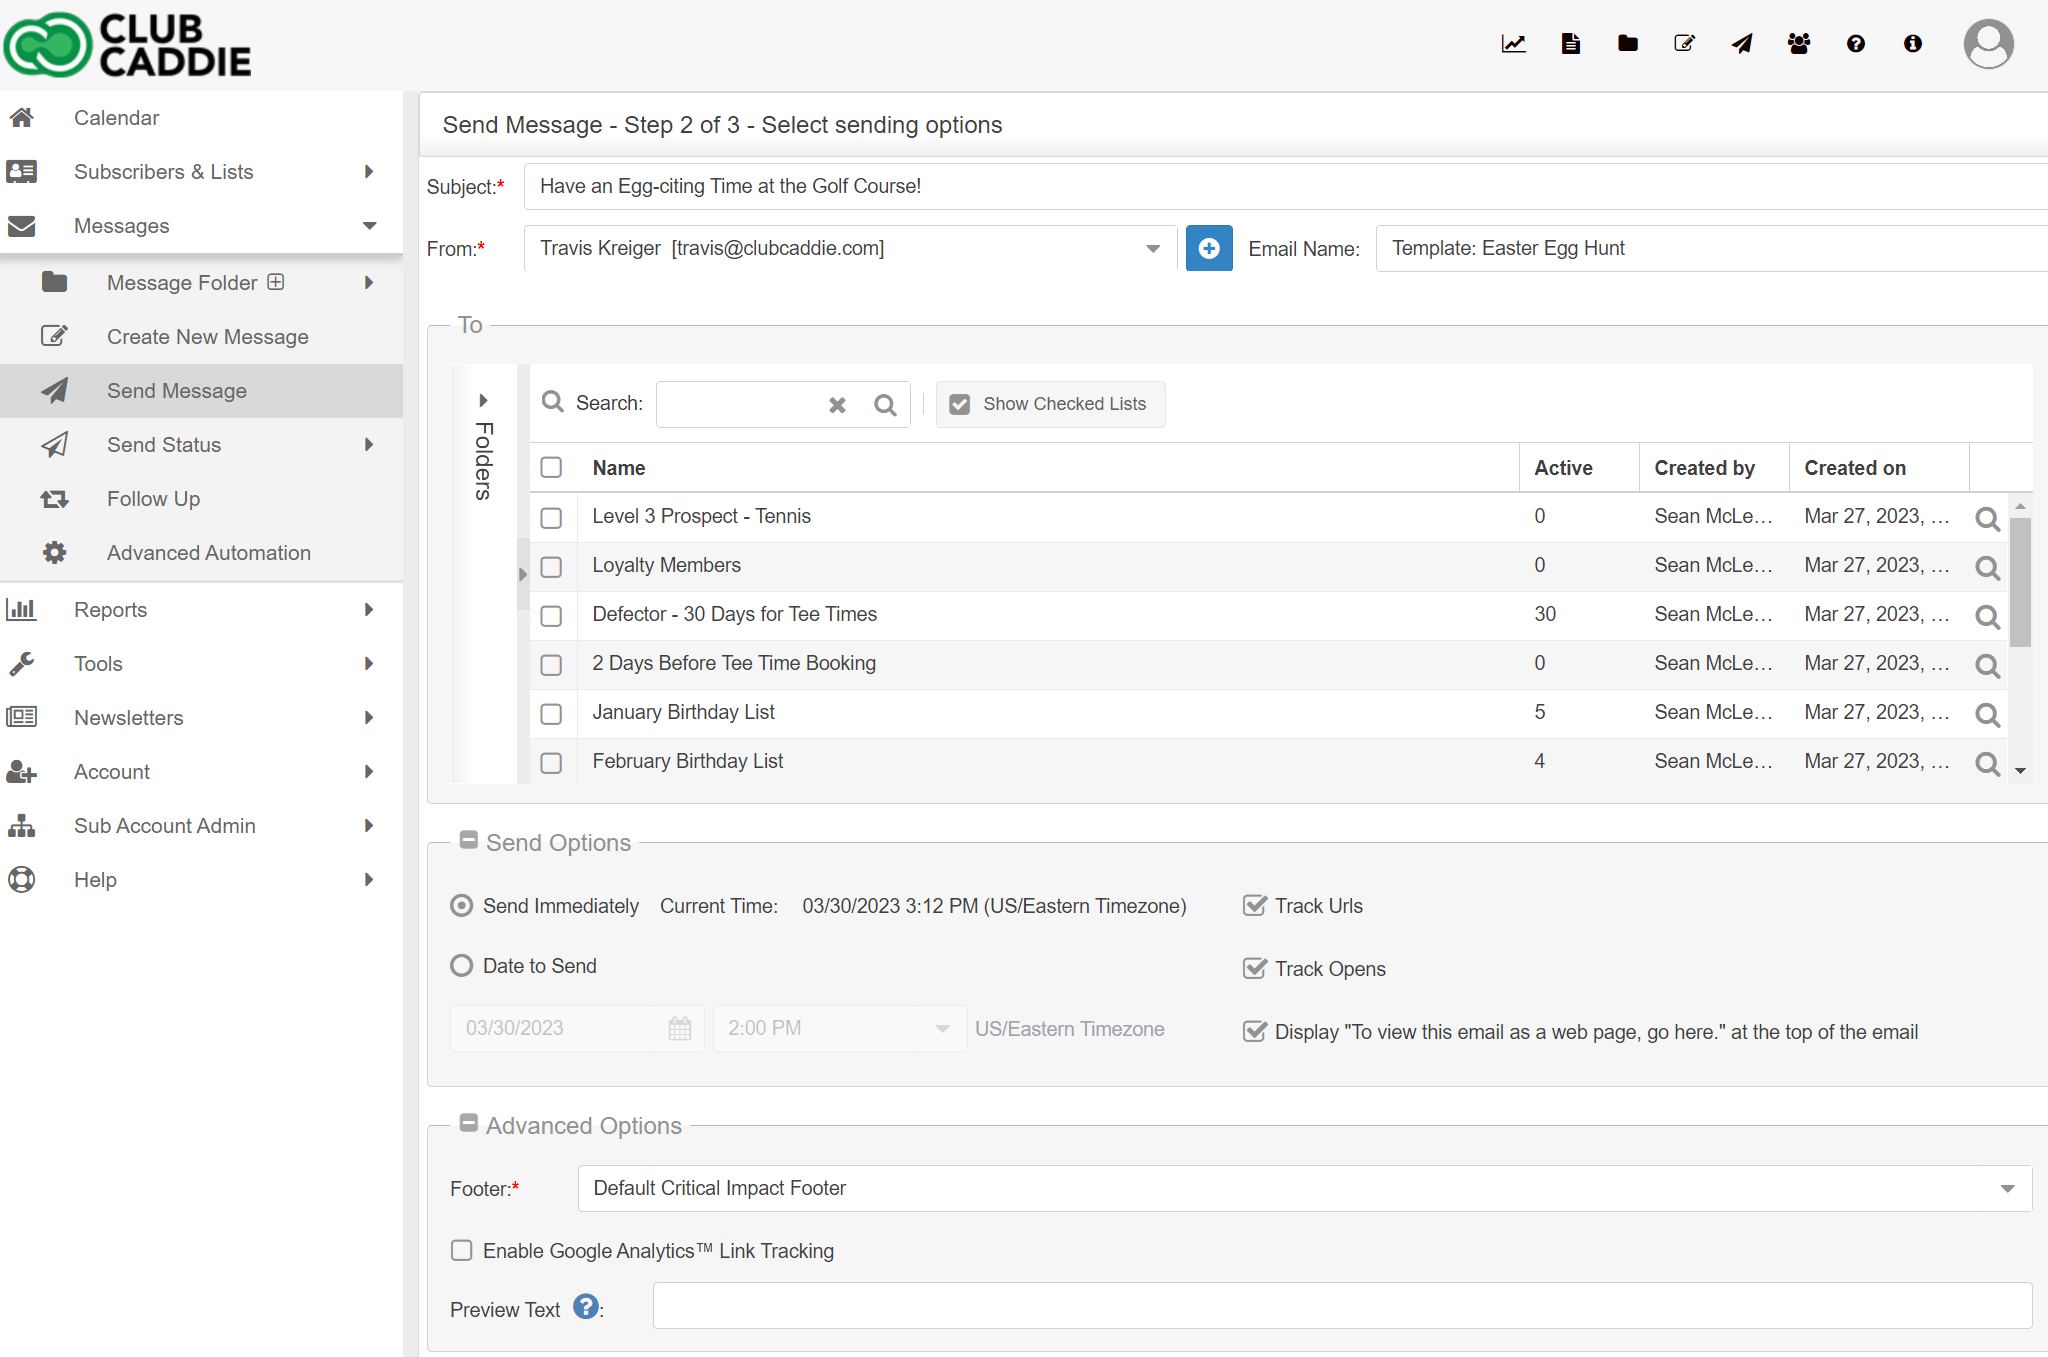
Select a Footer Unique for a Specific Send
- Follow the steps to Send a Message until you reach Step 2 of 3 where you select the Subject, From address, and lists to send to
- Find the section at the bottom of the screen called Advanced Options
- Click the arrow next to Advanced Options to expand the section
- Select the Footer from the drop down Footer menu