Article Contents: This guide provides detailed instructions on setting up a new Epson U220 Printer.
Step by StepDownloading and Installing Software
Step 1: Download Epson's Net Config utility and Epson's advanced printer drivers. This can be done through the provided link or by searching Google for each and clicking the first link.
Step 2: Launch the Epson Net Config tool installer. Follow the installation prompts until the installation complete message is displayed by the installation wizard.
Step 3: Open the Epson Net Config application by typing "Epson Net Config" into your Windows search bar. Allow the application to add an exemption to your firewall when prompted. Ensure your printer is connected to your network if it doesn't appear in the displayed list of network-connected printers.
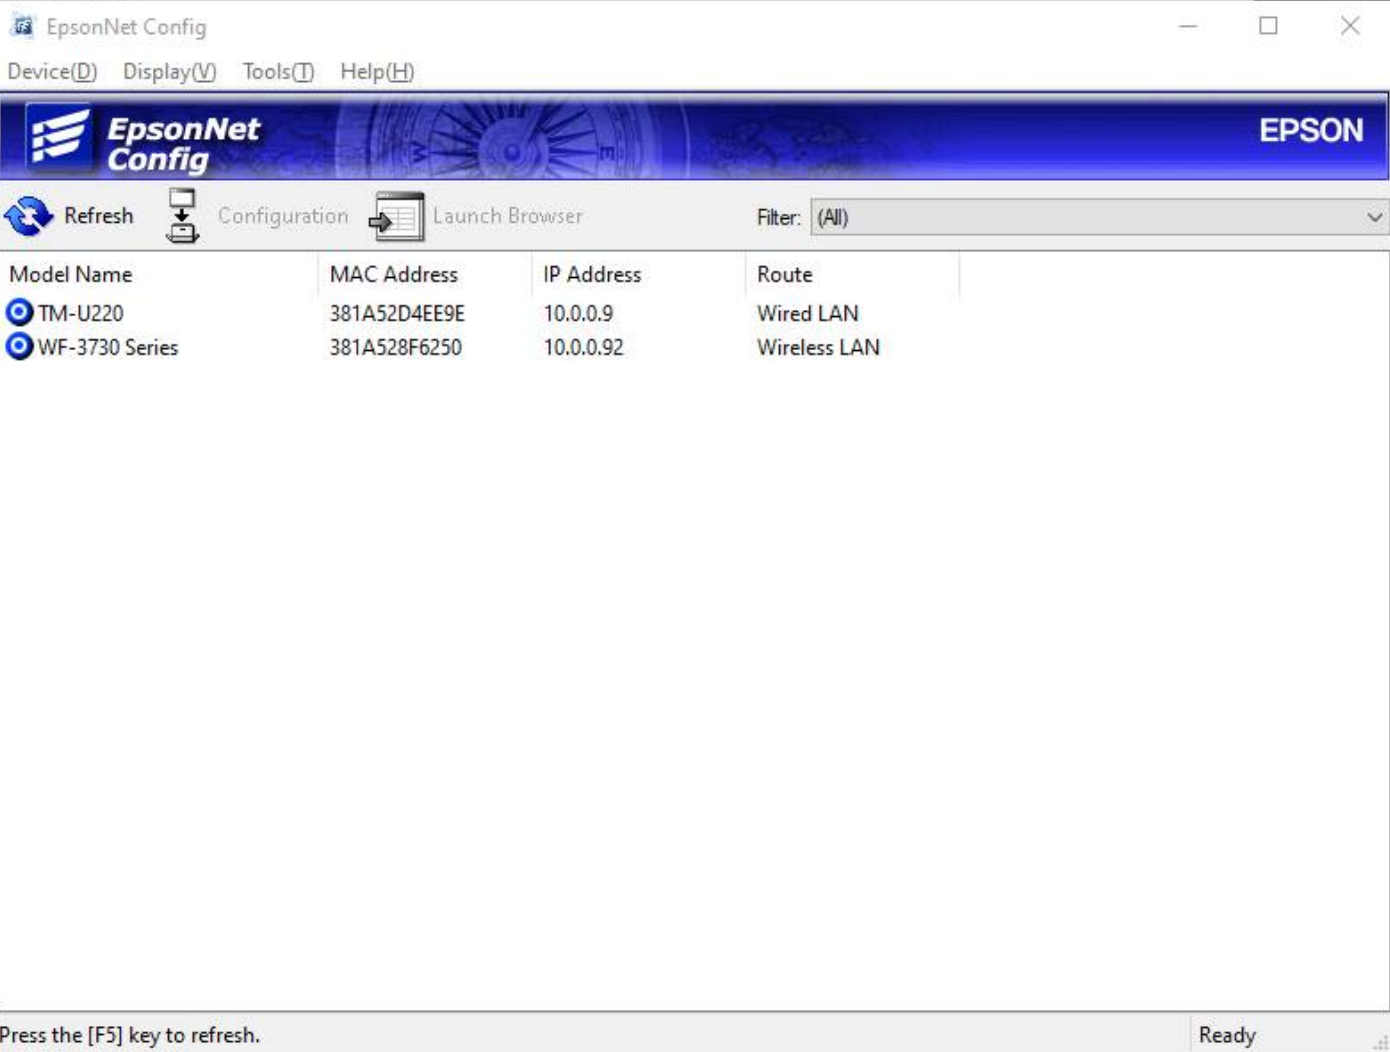
Step 4: Select your network printer and click "Configuration". Then, under TCP/IP configuration options, select "Basic". If an IP address is already populated, ensure "Manual" is selected before hitting "Transmit". If no IP address is displayed, set the IP address assignment to "Automatic" and transmit, then revert to "Manual".
Installing Advanced Printer Drivers
Step 5: Extract and open the Advanced Printer Drivers application.
Step 6: Follow the installation prompts until you reach a screen with an "Add" button. Click this button to proceed.
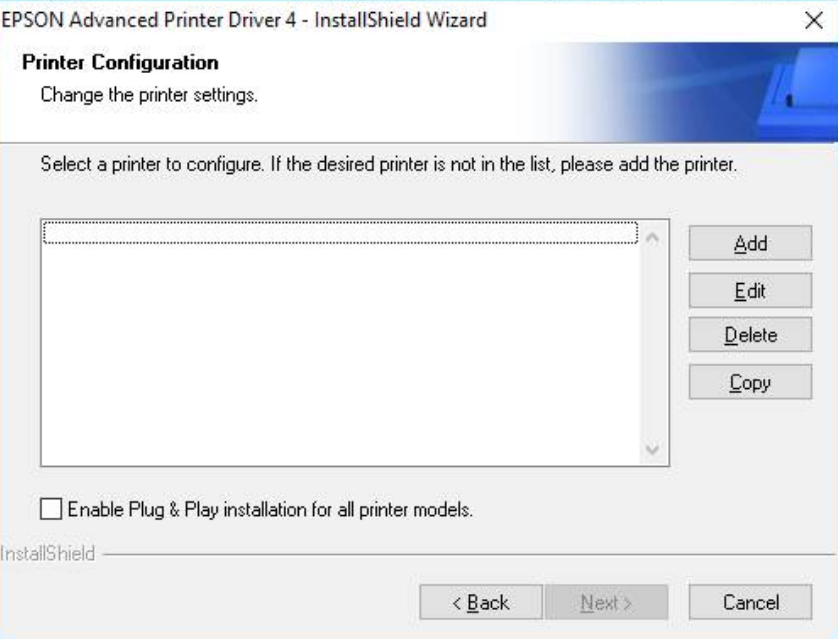
Step 7: Specify the printer model as U220. Leave the printer name as default or add a custom name if it is to be used as a kitchen/bar printer, following your settings in Club Caddie under departments -> printer options. For network printers, select "Ethernet Port" as the port type.
Step 8: Continue through the next screens until the installation complete message is displayed.
Testing the Printer
Step 9: In Windows "Printers and Scanners" settings, your new Epson Kitchen printer should now be listed. Test the printer by selecting a test print from the Windows print queue. Further testing within Club Caddie can be done by adding a food item from a department mapped to the kitchen printer and pressing "Send" in the register.